
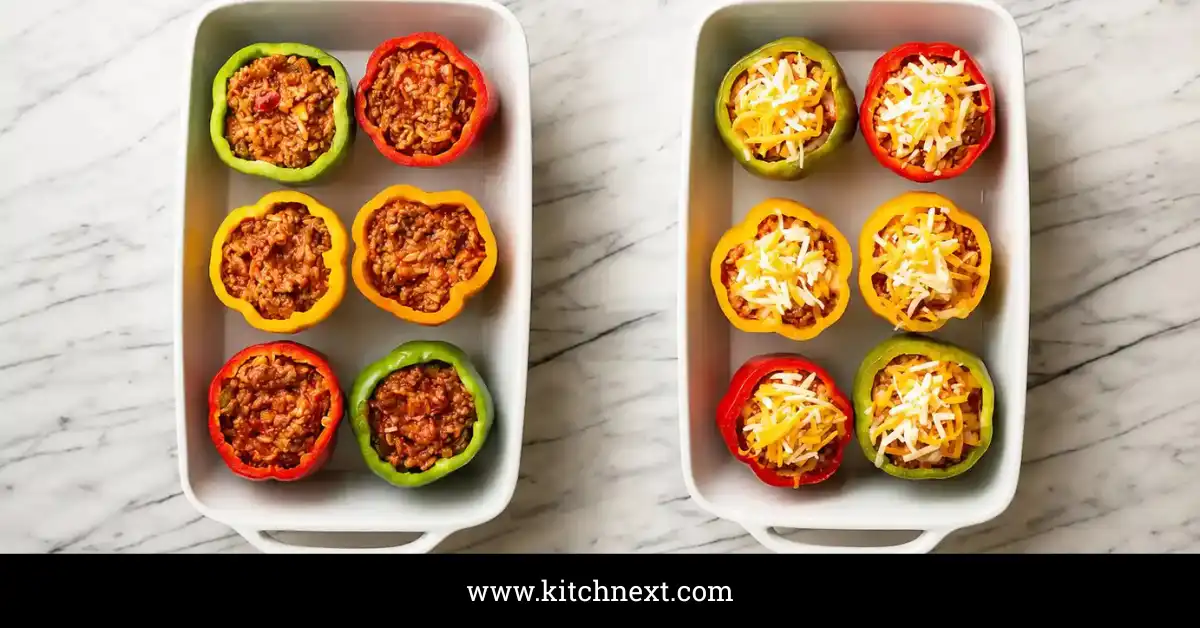
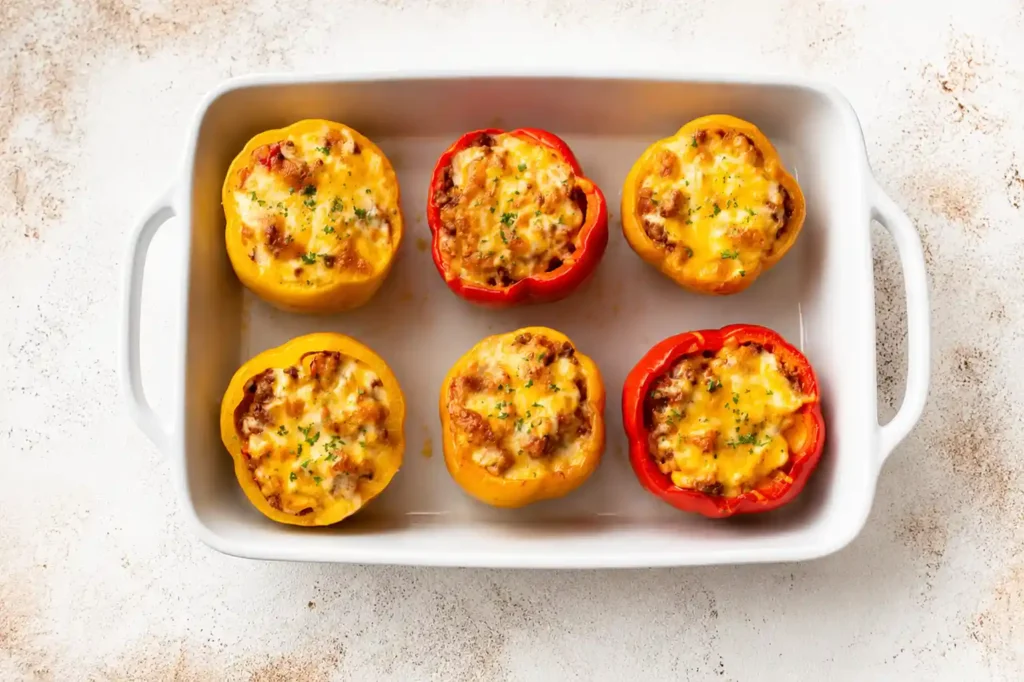
Beef stuffed peppers are bell peppers filled with a seasoned mix. The mix has ground beef, rice, and tomato sauce. They bake until the peppers turn tender. The filling gets hot and bubbly, too. This oven method turns simple pantry staples into a full dinner. It all comes together in one dish. The steps below use easy seasonings and a short bake time. That way, the peppers hold their shape instead of turning mushy.
The first time I made these peppers, I skipped par-boiling them first. I was short on time that night. They came out crunchy in the middle. The filling was already dry by then. That one dinner taught me more than the ten batches that came after it.
This version is forgiving and easy to change. You can swap the rice. You can switch the cheese. You can use a different pepper color, too. The results still turn out well. This dish is a good fit for busy cooks. It’s a filling dinner without a long list of steps.
This recipe works for a family meal. It also works as a make-ahead lunch or a batch to freeze. Have you never stuffed a pepper before? Don’t worry. The process is mostly just browning, mixing, and baking.
Once you’ve made beef stuffed peppers a few times, the whole process gets faster. You’ll get a feel for how full to pack each pepper. You’ll also learn how soft you like the walls. That’s when this recipe starts to feel like your own.
Recipe Quick Facts
- Prep Time: 20 minutes
- Cook Time: 45 minutes
- Total Time: 65 minutes
- Servings: 6 stuffed peppers
- Difficulty: Easy
Before You Get Started
- Pick peppers that stand up on their own. If one wobbles, trim a thin slice off the bottom. Don’t cut into the cavity. This helps it sit flat in the pan.
- I no longer boil the peppers on the stove first. A short bake in the oven softens them just enough. It also skips a messy pot of hot water.
- Use rice that’s already cooked and still a bit warm. Cold rice from the fridge won’t heat through in time. The filling needs to warm evenly as the peppers bake.
- If your beef is very lean, add a splash of olive oil to the pan. This keeps the filling from tasting dry.
- Salt the inside of each pepper before you fill it. I skipped this step early on. The peppers tasted bland next to the bold filling.
- Get your baking dish ready before you start the filling. This way, the peppers don’t sit empty and cool down.
- Choose peppers that are close in size. Same-size peppers bake more evenly. You won’t end up with one soft pepper and one that’s still firm.
Ingredients
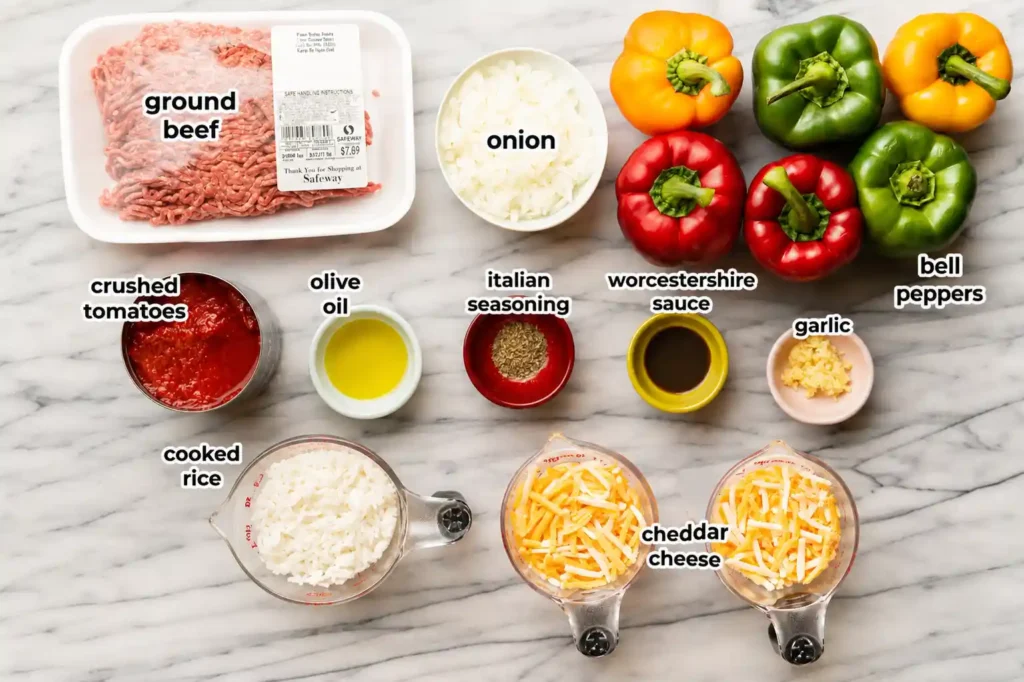
- 6 medium bell peppers (any color), tops cut off and seeds removed
- 1 lb (450g) ground beef (85/15 recommended)
- 1 cup cooked white rice
- 1 small yellow onion, diced
- 2 garlic cloves, minced
- 1 cup marinara or tomato sauce, divided
- 1 tsp dried oregano
- 1 tsp smoked paprika
- 1/2 tsp ground cumin
- Salt and black pepper, to taste
- 1 1/2 cups shredded mozzarella or cheddar cheese, divided
- 2 tbsp chopped fresh parsley (optional, for topping)
- 1 tbsp olive oil
Instructions
Step 1: Prep the Peppers
Preheat the oven to 375°F (190°C). Slice the tops off the bell peppers. Scoop out the seeds and white ribs with a spoon. Trim a thin slice from the bottom of any pepper that won’t stand up. Set the peppers cut-side up in a 9×13-inch baking dish.
Step 2: Give the Peppers a Head Start
Pour 1/4 cup water into the bottom of the dish. Bake the empty peppers for 10 minutes. This softens the walls a bit before you fill them. I added this step after my first batch came out crunchy in the middle. It made a real difference. Take the dish out and set it aside. Leave the oven on.
Step 3: Cook the Beef and Aromatics
Heat the olive oil in a large skillet over medium heat. Add the diced onion. Cook for 3 to 4 minutes, until soft. Add the garlic and cook for 30 seconds, until you can smell it. Add the ground beef. Break it up with a spoon as it cooks. Cook for 6 to 7 minutes, until no pink is left. Drain off the extra fat.
Step 4: Build the Filling
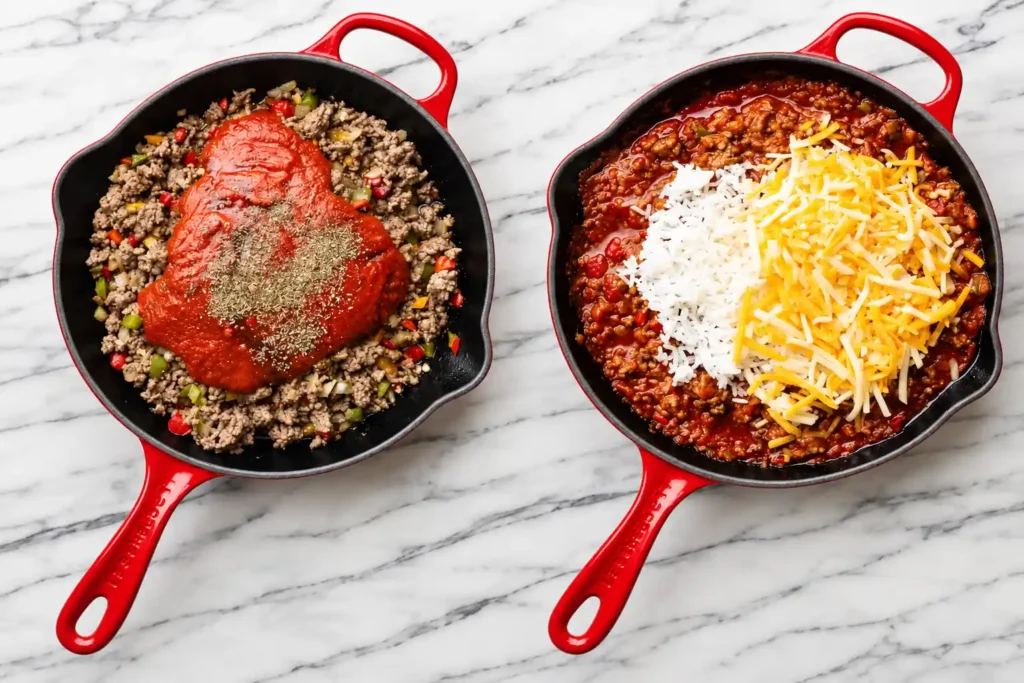
Stir in the cooked rice, 3/4 cup of the marinara sauce, oregano, paprika, cumin, salt, and pepper. Cook for 2 minutes, stirring, until it’s warm and well mixed. In my kitchen, I always taste the filling here and adjust the salt. It’s much easier to fix now than after the peppers are baked.
Step 5: Stuff and Bake
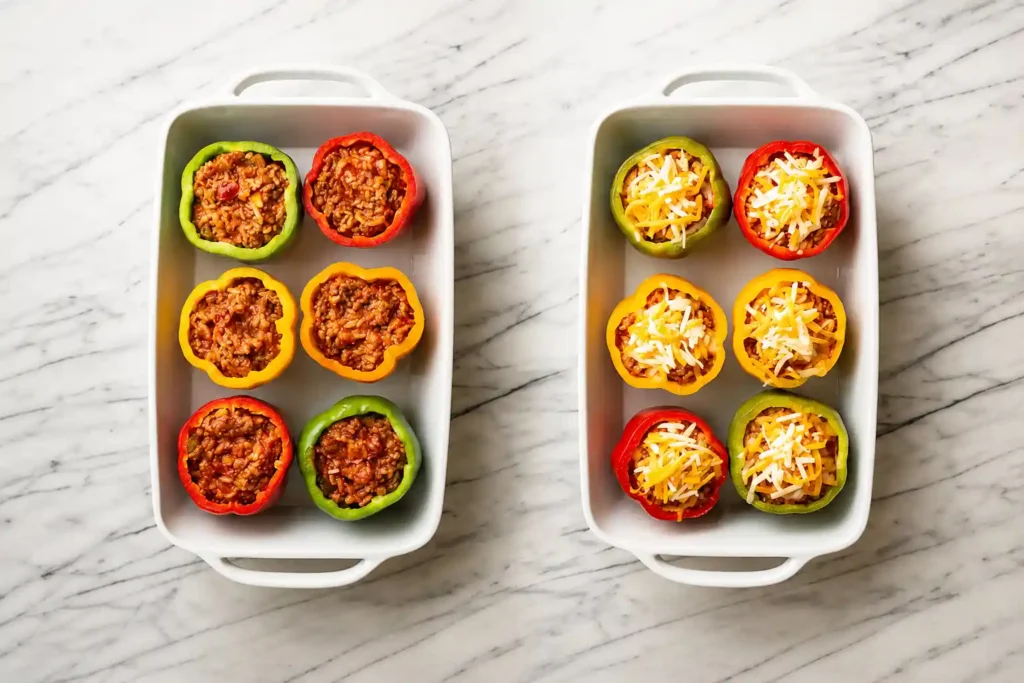
Spoon the beef mixture into each pepper. Pack it in gently and mound it slightly at the top. Spoon the last 1/4 cup of marinara sauce over the tops. Cover the dish tightly with foil. Bake for 25 minutes.
Step 6: Finish with Cheese
Remove the foil. Sprinkle the shredded cheese over the peppers. Bake uncovered for 8 to 10 more minutes, until the cheese melts and turns light golden. Let the peppers rest for 5 minutes before serving. Top with parsley if you’re using it.
How To Make (Quick Reference)
- Preheat the oven to 375°F and prep 6 bell peppers by removing the tops and seeds.
- Bake the empty peppers for 10 minutes with a little water in the dish.
- Brown ground beef with onion and garlic in a skillet, then drain the fat.
- Stir in cooked rice, marinara sauce, and seasonings.
- Fill the peppers with the beef mixture and top with the last of the sauce.
- Cover and bake for 25 minutes.
- Uncover, add cheese, and bake for 8 to 10 more minutes.
- Rest for 5 minutes, then serve.
Tips for Best Results
- Drain the beef fat well. I skipped this once. The peppers sat in a pool of grease at the bottom of the dish.
- Let the peppers rest for 5 minutes after baking. The filling firms up and holds together better once you cut into it.
- Want a pepper with more bite? Cut the bake time in Step 2 down to 5 minutes.
- Use a mix of pepper colors for a brighter plate. Red and yellow peppers taste a bit sweeter than green ones.
- If the filling looks dry before stuffing, stir in an extra spoonful of marinara sauce.
- These beef stuffed peppers taste even better the next day, once the flavors have had time to settle.
Ingredient Substitutions
| Original Ingredient | Substitute | Effect on Taste/Texture |
| Ground beef (85/15) | Ground turkey | Leaner and milder; add 1 tbsp oil so it stays moist |
| White rice | Cauliflower rice | Lower carb; softer and a bit wetter filling |
| Marinara sauce | Diced tomatoes | Chunkier texture, less sweet |
| Mozzarella cheese | Pepper jack cheese | Adds a mild spicy kick |
| Bell peppers | Poblano peppers | Milder heat, thinner walls, shorter bake time |
Storage & Reheating
Store leftover stuffed peppers in an airtight container in the fridge. They keep well for up to 4 days. To reheat one, microwave it for 2 to 3 minutes. Or warm it, covered with foil, in a 350°F oven for about 15 minutes.
To freeze beef stuffed peppers, bake them without the cheese on top first. Let them cool completely before you wrap them. Freeze for up to 3 months. Thaw overnight in the fridge, then add the cheese and reheat as directed above.
FAQs
Do you have to boil peppers before stuffing them?
No, boiling isn’t necessary. A short 10-minute bake softens the empty peppers just enough. They finish cooking through during the main bake, without the soggy texture that boiling can cause.
Why are my stuffed peppers watery?
Watery filling often comes from beef fat that wasn’t drained, or from vegetables that release water as they cook. Draining the beef well and using rice that’s already cooked helps keep the filling from turning soupy.
Can you make beef stuffed peppers ahead of time?
Yes. Assemble the peppers up to a day ahead. Cover them and keep them unbaked in the fridge. Add about 5 to 10 extra minutes to the covered bake time, since the filling will start out cold.
What temperature do you bake stuffed peppers at?
375°F (190°C) works well for beef stuffed peppers. It’s hot enough to soften the peppers and melt the cheese, without drying out the filling during the roughly 45-minute bake.
Do stuffed peppers need to be covered while baking?
Yes, for most of the bake time. Foil traps steam that cooks the peppers through. Taking the foil off for the last 8 to 10 minutes lets the cheese melt and turn golden on top.