
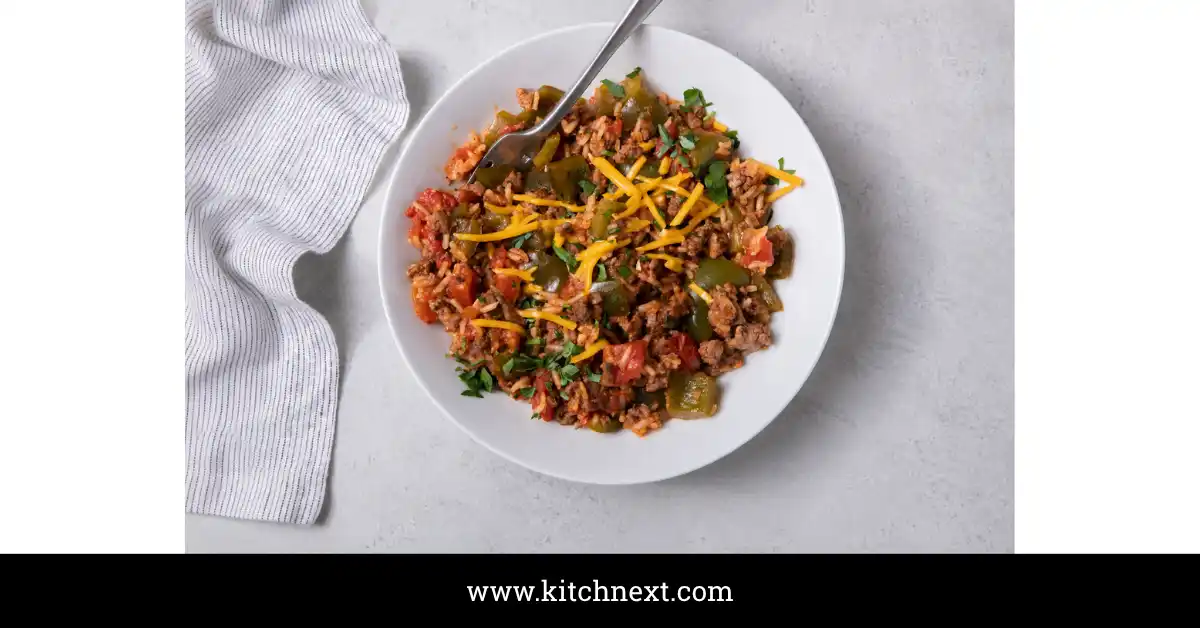
Unstuffed peppers take everything you love about classic stuffed bell peppers — savory ground beef, sweet peppers, rice, and melted cheese — and cook it all together in one skillet instead of individual pepper shells. It’s a faster, easier version of the same dish, with no baking and no stuffing required. This recipe feeds a family in under 40 minutes using ingredients most people already have on hand.
The first time I made this, I was trying to get dinner on the table before a school pickup deadline, and I didn’t have time to hollow out peppers, stuff them, and bake them for an hour. I chopped the peppers instead, tossed everything into one pan, and it came together faster than I expected. My kids didn’t even notice the peppers weren’t “stuffed” — they just saw cheese and cleaned their plates.
This recipe works for busy weeknights, meal prep, or anyone who wants stuffed pepper flavor without the fuss of individual shells. It’s also naturally low-carb friendly if you swap the rice, and it reheats well for lunches later in the week.
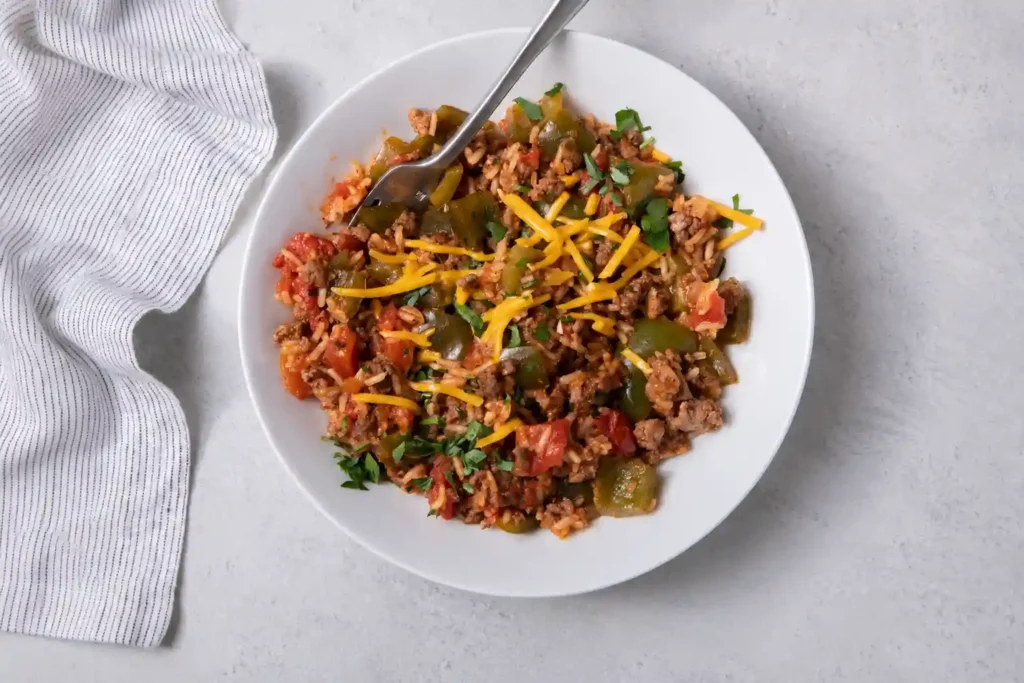
Recipe Quick Facts
- Prep Time: 15 minutes
- Cook Time: 25 minutes
- Total Time: 40 minutes
- Servings: 6 servings
- Difficulty Level: Easy
Before You Get Started
- Drain the grease before adding vegetables. I skipped this step once and ended up with a greasy, heavy sauce instead of a thickened one.
- Use three different colored bell peppers if you can. Yellow, orange, and green peppers give the dish visual contrast and slightly different levels of sweetness.
- Instant rice cooks faster, but regular long-grain rice works too. Just add 15 to 20 extra minutes of simmer time and a bit more beef stock.
- Don’t skip draining the canned tomatoes. Extra liquid makes the rice mushy instead of tender.
- Sharp cheddar makes a real difference here. I tried mild cheddar once and the dish tasted flat compared to using sharp.
- Ground turkey or ground chicken can replace beef if you want a lighter version, though the flavor will be milder.
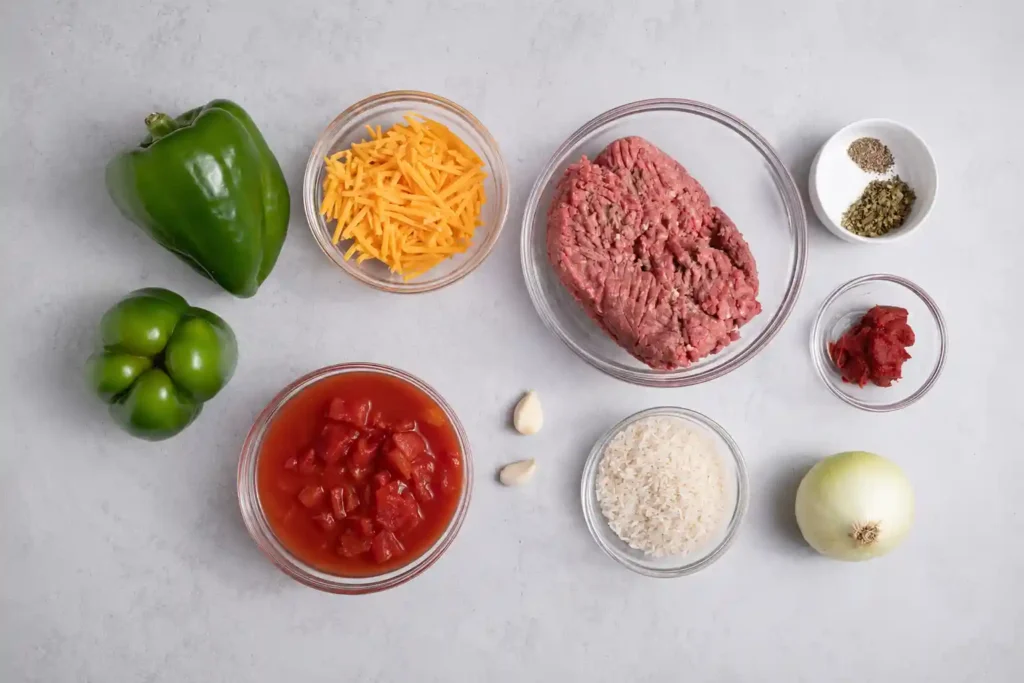
Ingredients
- 1½ pounds lean ground beef
- 1 medium sweet onion, diced
- 1 tablespoon Worcestershire sauce
- 1 teaspoon salt
- ½ teaspoon black pepper
- ½ teaspoon crushed red pepper
- 1 tablespoon Italian seasoning
- 1 tablespoon minced garlic
- 1 medium yellow bell pepper, chopped
- 1 medium orange bell pepper, chopped
- 1 medium green bell pepper, chopped
- 1 can (14.5 oz) diced tomatoes, drained
- 1 to 1¼ cups beef stock
- 1 cup instant rice, uncooked
- 1 cup shredded sharp cheddar cheese
- 1 cup shredded mozzarella cheese, plus extra for topping
Instructions
Step 1: Brown the Ground Beef
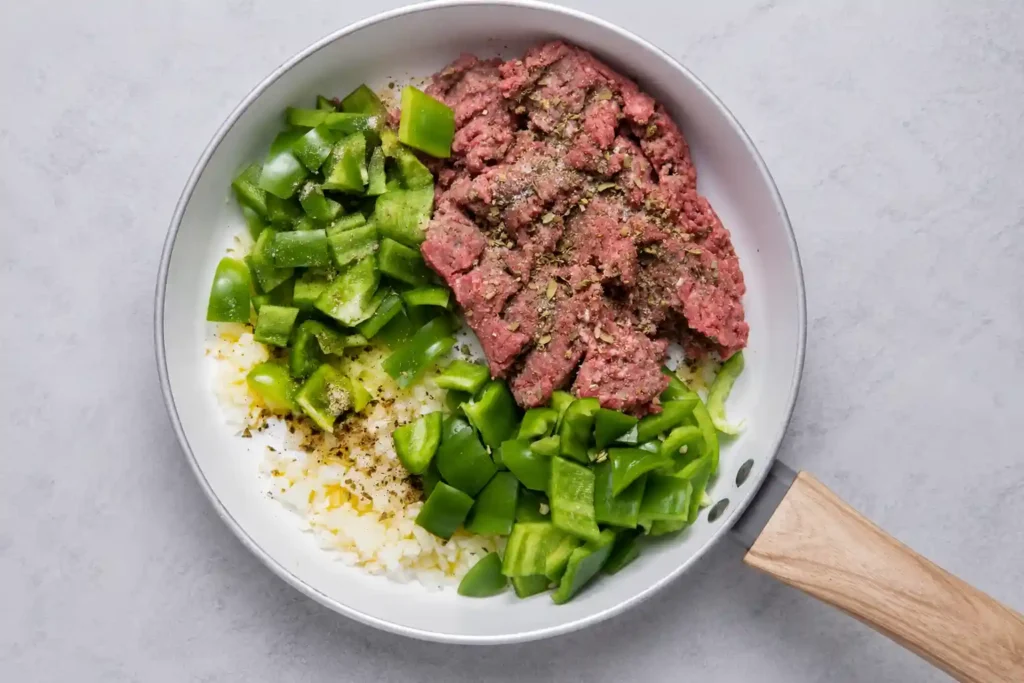
Heat a large skillet over medium-high heat. Add the ground beef and cook, breaking it apart with a spatula, until fully browned with no pink remaining, about 6 to 8 minutes. Drain most of the grease from the pan, leaving just a thin coating for flavor.
Step 2: Cook the Onion and Season the Meat
Add the diced onion to the beef and cook for 2 to 3 minutes, until it turns soft and slightly translucent (I found that cooking it directly in the beef fat, rather than separately, saves a pan and adds more flavor). Stir in the Worcestershire sauce, salt, black pepper, crushed red pepper, and Italian seasoning until everything is evenly coated.
Step 3: Add the Garlic and Bell Peppers
Stir in the minced garlic and cook for 1 to 2 minutes, just until it smells fragrant. Add the yellow, orange, and green bell peppers and stir them into the meat mixture. Cook for 2 to 3 minutes to soften them slightly without letting them go limp.
Step 4: Add Tomatoes, Stock, and Rice
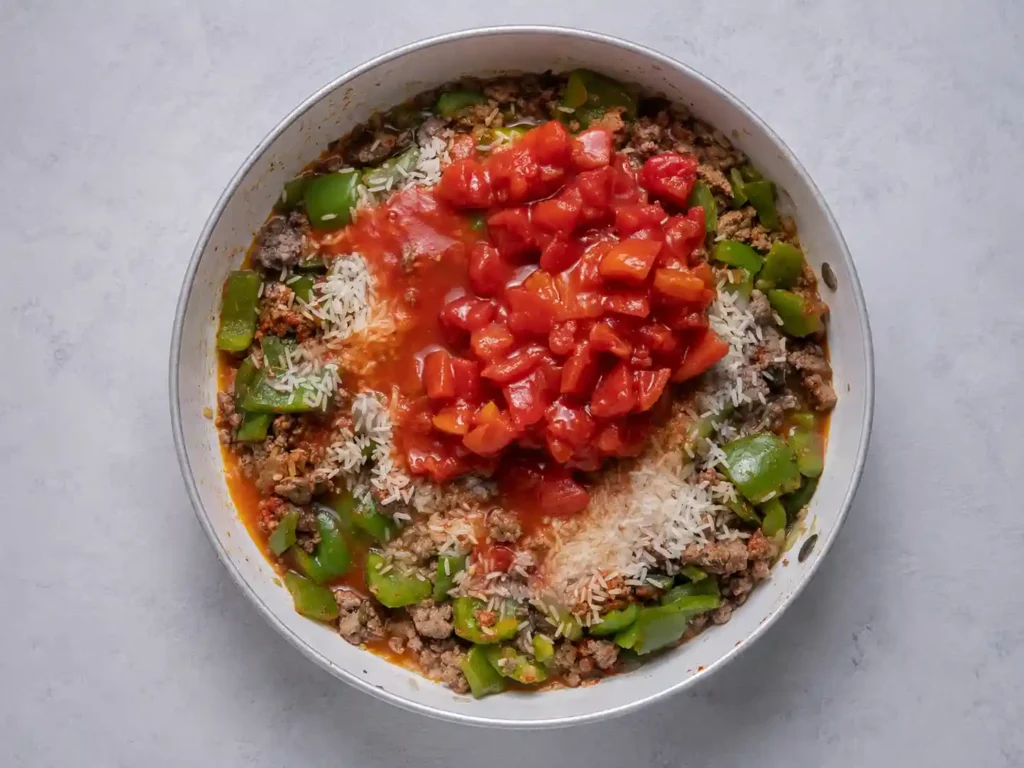
Pour in the drained diced tomatoes and stir to combine. Add 1 cup of beef stock and increase the heat to bring the liquid to a boil (in my kitchen, I always have the extra ¼ cup of stock ready, since it depends on how much liquid your rice needs). Once it’s boiling, stir in the instant rice, reduce the heat to medium-low, cover, and simmer for 5 to 8 minutes, or until the rice is tender.
Step 5: Melt in the Cheese
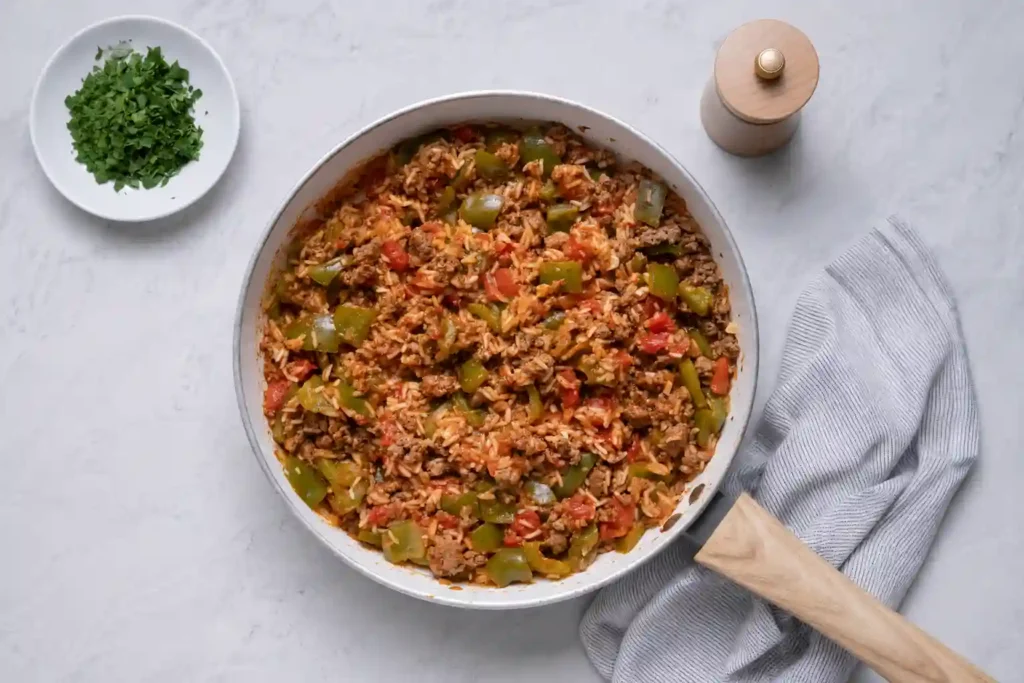
Turn off the heat once the rice is tender and the liquid has mostly absorbed. Stir in the shredded cheddar and half of the mozzarella until melted and creamy. This is the step I rushed the first time I made it, and the cheese ended up clumping instead of melting smoothly — stirring it off the direct heat solves that.
Step 6: Top and Serve
Sprinkle the remaining mozzarella over the top. Cover the skillet again and let it sit for 2 to 3 minutes, just until the top layer of cheese melts completely. Serve hot, straight from the skillet.
How To Make (Quick Reference)
- Brown 1½ pounds of ground beef and drain the grease.
- Cook the diced onion in the beef for 2 to 3 minutes.
- Stir in Worcestershire sauce, salt, pepper, red pepper, and Italian seasoning.
- Add garlic, then all three chopped bell peppers.
- Stir in drained diced tomatoes and 1 cup of beef stock; bring to a boil.
- Add 1 cup instant rice, cover, and simmer for 5 to 8 minutes.
- Turn off heat and stir in cheddar and half the mozzarella.
- Top with remaining mozzarella, cover, and melt for 2 to 3 minutes.
Tips for Best Results
- Taste before adding salt at the end. Beef stock and Worcestershire sauce both add sodium, so I always taste the dish before reaching for extra salt.
- Chop the peppers into similar-sized pieces. Uneven pieces cook unevenly, and I learned this after a batch with half-raw, half-mushy peppers.
- Let the skillet rest off heat for a minute before serving. The sauce thickens slightly as it cools, which keeps it from being watery on the plate.
- Double the recipe for meal prep. It reheats better than most rice dishes because the cheese keeps the rice from drying out.
- Use a wide skillet, not a deep pot. A wider surface helps the liquid reduce faster and prevents the rice from turning mushy.
Ingredient Substitution
| Original Ingredient | Substitute | Effect on Taste & Texture |
| Lean ground beef | Ground turkey | Lighter flavor, slightly drier texture |
| Sharp cheddar cheese | Monterey Jack | Milder flavor, creamier melt |
| Instant rice | Cauliflower rice (pre-cooked) | Lower carb, softer bite, less starchy sauce |
| Sweet onion | Yellow onion | Slightly sharper bite, less natural sweetness |
| Beef stock | Chicken stock | Lighter color, less rich overall flavor |
Storage & Reheating
- Refrigerator: Store leftovers in an airtight container for up to 4 days.
- Freezer: Freeze in a freezer-safe container for up to 2 months.
- Reheating from the fridge: Warm in a skillet over medium-low heat with a splash of beef stock or water, stirring occasionally, for about 5 minutes.
- Reheating from frozen: Thaw overnight in the refrigerator, then reheat using the same skillet method above.
FAQs
Can I use regular rice instead of instant rice in this unstuffed peppers recipe?
Yes. Use regular long-grain rice, but increase the simmer time to about 20 minutes and add an extra ¼ to ½ cup of beef stock so the rice has enough liquid to fully cook through.
What can I substitute for ground beef in unstuffed peppers?
Ground turkey, ground chicken, or even plant-based ground meat all work well. The texture stays similar, though the overall flavor will be lighter than with beef.
Can you freeze unstuffed peppers?
Yes, this dish freezes well for up to 2 months in an airtight, freezer-safe container. Thaw it in the refrigerator overnight before reheating on the stovetop for the best texture.
Why are my bell peppers still crunchy after cooking?
This usually means they were added too early or cooked too briefly. Give them a full 2 to 3 minutes in the skillet after the garlic, and cut them into smaller, even pieces for faster, more consistent cooking.
Can I make unstuffed peppers ahead of time for meal prep?
Absolutely. Cook the full recipe, portion it into containers once cooled, and refrigerate for up to 4 days. It reheats easily in a skillet or microwave, making it a solid meal-prep option.