
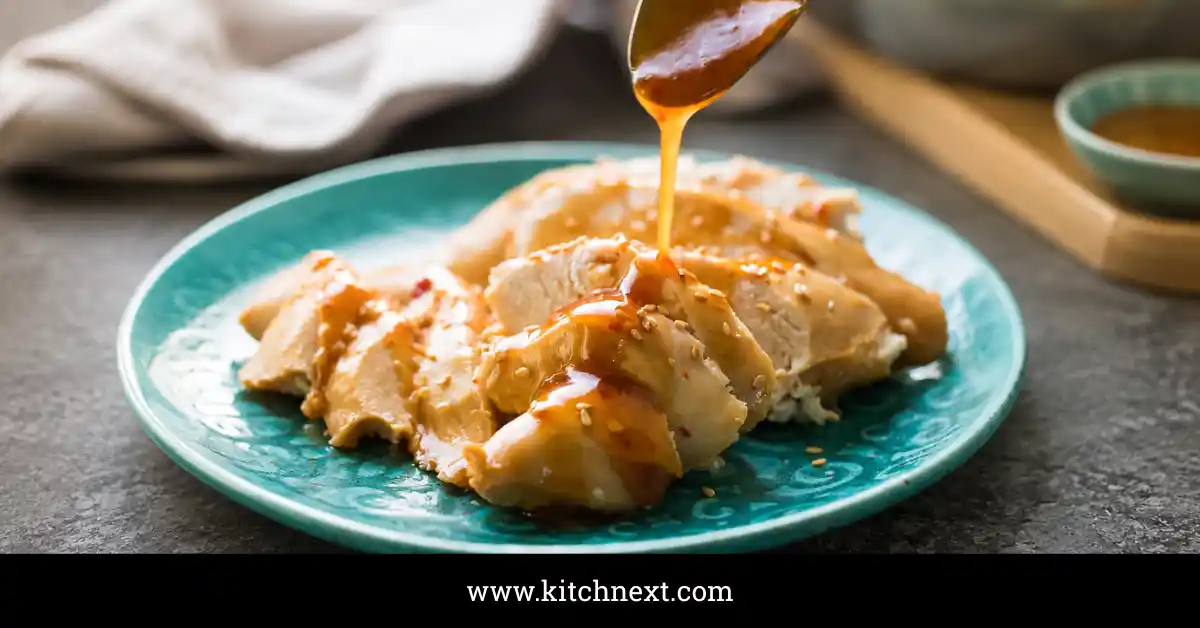
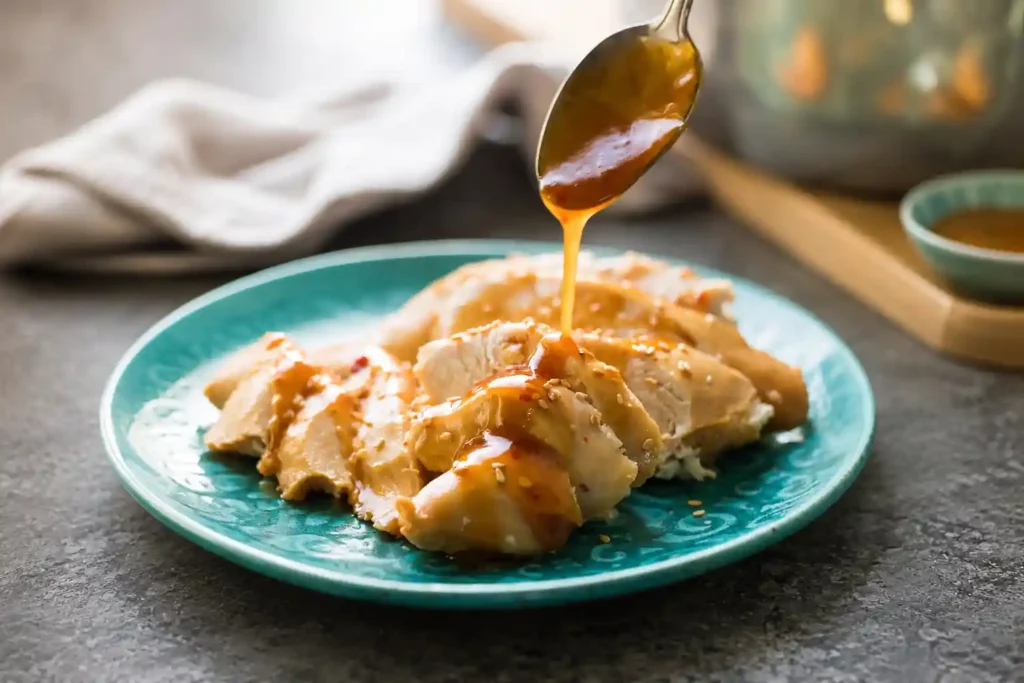
Instant Pot Honey Sesame Chicken Breast is a sweet, garlicky pressure-cooker dinner that takes chicken breast from raw to fork-tender in about 8 minutes of actual cook time. The honey, soy sauce, and sesame oil reduce into a glossy sauce that coats the shredded chicken instead of sitting in a puddle underneath it. It’s a solid choice for a weeknight dinner when you want something closer to takeout than a plain baked chicken breast, and it holds up well for meal prep too.
The first time I made this, my niece was staying with us for a week and asked for “the sticky chicken from that one restaurant.” I got confident, dumped the honey, soy sauce, and sesame oil straight into the pot together, sealed the lid, and walked away. Ten minutes later the display flashed “Burn” and I opened the lid to a scorched sauce stuck to the bottom of the insert. I learned that honey-based sauces need to be layered carefully in an Instant Pot, and I changed my method because of it.
Since then I’ve made this recipe more than a dozen times, adjusting the ratio of honey to soy sauce and testing different release times until the chicken stopped drying out. This version is the one that’s worked every single time, and I’ll walk you through exactly where I went wrong so you don’t repeat it.
This recipe is written for home cooks who own a 6-quart or 8-quart electric pressure cooker and want a reliable, repeatable dinner — no prior Instant Pot experience required.
Recipe Quick Facts
- Prep Time: 10 minutes
- Cook Time: 8 minutes (plus 5 minutes natural release)
- Total Time: 23 minutes
- Servings: 4
- Difficulty Level: Easy
Before You Get Started
- Use boneless, skinless chicken breasts between 6–8 oz each. Larger breasts over 9 oz cook unevenly under pressure and the center can stay slightly underdone.
- Deglaze the pot before adding the honey. This is the fix for my burn-notice mistake — after sautéing garlic and ginger, add a splash of the soy sauce and scrape the bottom of the insert with a wooden spoon before pouring in the honey.
- Don’t skip the cornstarch slurry step. The sauce looks thin straight out of the pot; it only thickens properly once you simmer it with the slurry on the sauté setting for 2–3 minutes.
- Pat the chicken dry before searing. Wet chicken won’t brown, and a dry sear gives the sauce something to cling to later.
- If you only have chicken thighs, they work too — I’ve swapped in boneless thighs and reduced the pressure-cook time to 6 minutes since thighs cook faster and stay moist even if slightly over.
- Toast your sesame seeds if you have 2 extra minutes. I started doing this after noticing raw sesame seeds tasted flat next to the sweet sauce — a dry skillet over medium heat for 90 seconds makes a real difference.
Ingredients
- 1.5 lbs boneless, skinless chicken breasts (about 3 medium breasts)
- 1 tablespoon avocado oil or vegetable oil
- 3 garlic cloves, minced
- 1 tablespoon fresh ginger, minced
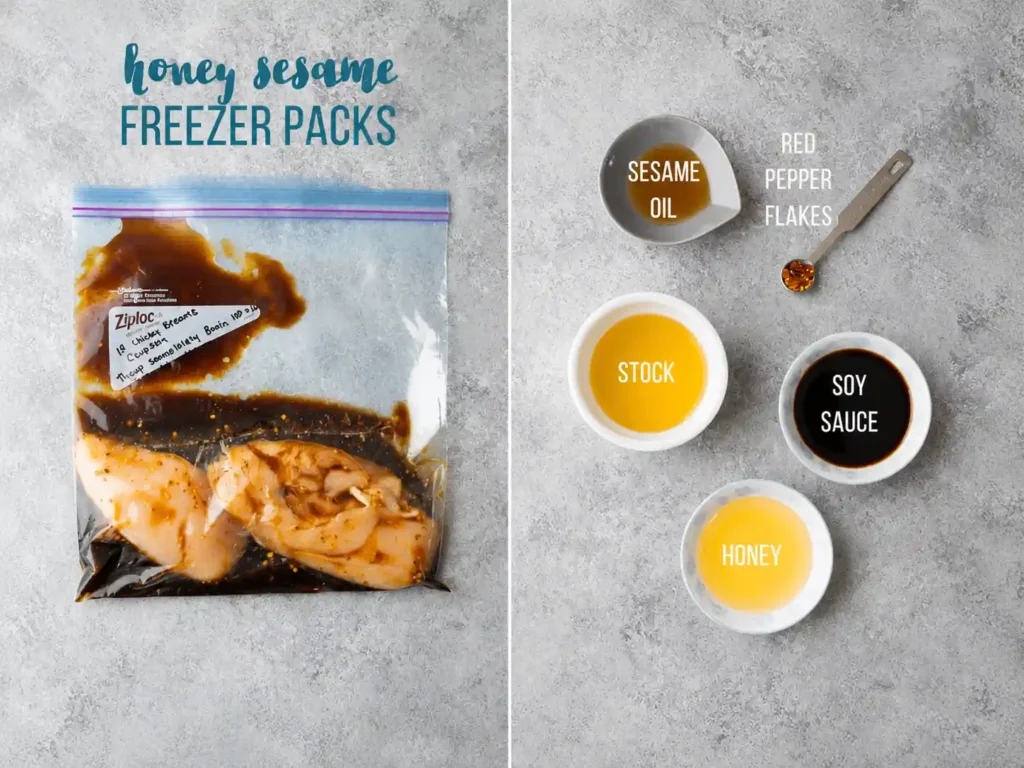
- 1/3 cup honey
- 1/4 cup low-sodium soy sauce
- 2 tablespoons rice vinegar
- 1 tablespoon toasted sesame oil
- 1/2 cup low-sodium chicken broth
- 2 tablespoons cornstarch
- 2 tablespoons cold water
- 1 tablespoon sesame seeds, toasted
- 2 green onions, sliced, for garnish
- 1/2 teaspoon red pepper flakes (optional)
Instructions
Step 1: Prep and Sear the Chicken
Pat the chicken breasts completely dry with paper towels and season lightly with salt and pepper. Set the Instant Pot to Sauté mode and add the oil. Once the oil shimmers, sear the chicken for 2 minutes per side, just to get color — it won’t be cooked through yet.
Remove the chicken to a plate. (I skipped this searing step once to save time, and the finished chicken tasted noticeably flatter — the browning really does add flavor the sauce can’t fake.)
Step 2: Build the Sauce Base
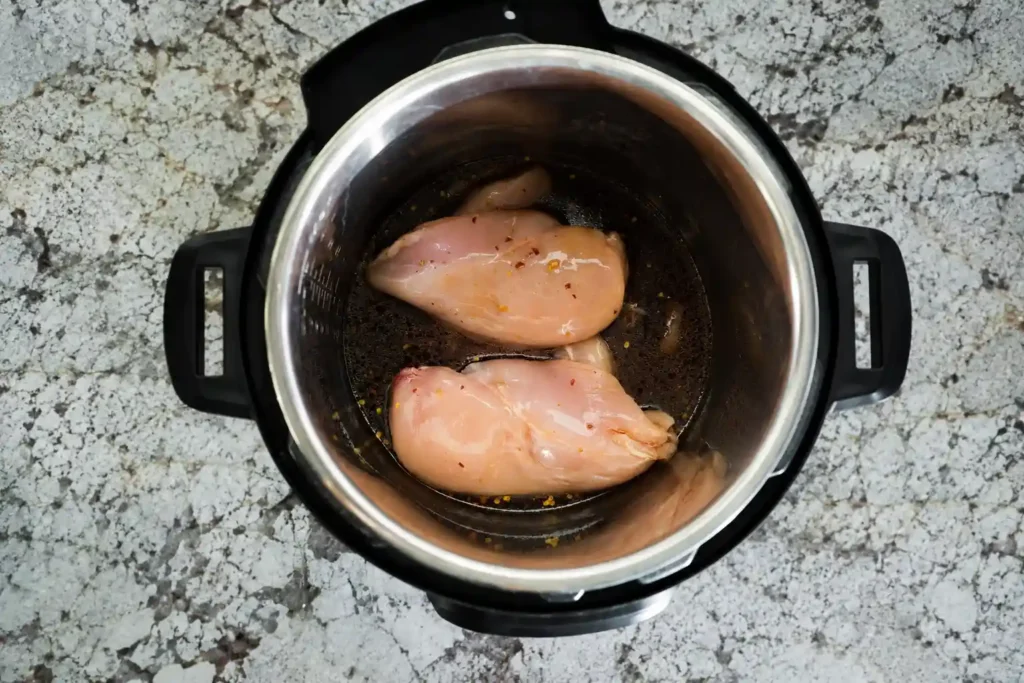
With the pot still on Sauté, add the garlic and ginger and stir for 30 seconds until fragrant. Pour in the soy sauce and scrape the bottom of the pot with a wooden spoon to lift any browned bits.
This deglazing step is the one I skipped the first time, and it’s exactly why my sauce scorched and triggered the burn warning. Once the bottom is clean, add the honey, rice vinegar, sesame oil, and chicken broth, and stir to combine.
Step 3: Pressure Cook the Chicken
Return the chicken breasts to the pot, nestling them into the sauce. Cancel Sauté mode, seal the lid, and set the valve to sealing. Select Manual/Pressure Cook on High Pressure for 8 minutes.
When the timer ends, let the pressure release naturally for 5 minutes, then carefully turn the valve to venting for a quick release. (In my kitchen, I always set a separate timer for this natural release — walking away for the full 15–20 minutes. Some recipes suggest overcooking the chicken breast and making it stringy instead of tender.)
Step 4: Shred or Slice the Chicken
Remove the chicken to a cutting board and let it rest for 2 minutes. Shred it with two forks, or slice it against the grain if you prefer strips over shreds. Set the chicken aside and keep the sauce in the pot.
Step 5: Thicken the Sauce
In a small bowl, whisk the cornstarch and cold water together until smooth — do this before adding it to the pot, since I learned the hard way that sprinkling cornstarch straight into hot liquid creates lumps that won’t fully dissolve.
Set the Instant Pot back to Sauté mode, pour in the slurry, and simmer for 2–3 minutes, stirring often, until the sauce coats the back of a spoon and looks glossy rather than watery.
Step 6: Combine and Serve
Return the shredded chicken to the pot and toss it in the thickened sauce until every piece is coated. Cancel Sauté mode. Sprinkle with toasted sesame seeds, sliced green onions, and red pepper flakes if using.
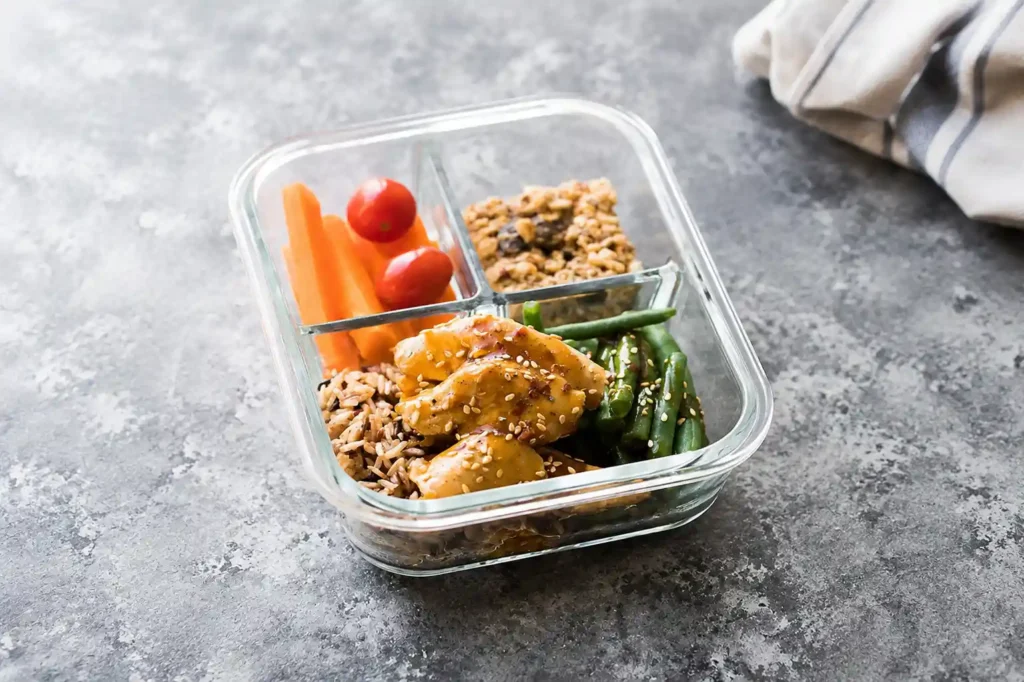
Serve immediately over steamed rice or noodles while the sauce is still glossy and warm.
How To Make (Quick Reference)
- Sear seasoned chicken breasts in the Instant Pot on Sauté, then remove.
- Sauté garlic and ginger, deglaze with soy sauce.
- Add honey, rice vinegar, sesame oil, and broth; return chicken to pot.
- Pressure cook on High for 8 minutes; natural release 5 minutes, then quick release.
- Shred or slice the chicken; set aside.
- Whisk cornstarch with cold water, stir into the sauce on Sauté, and simmer 2–3 minutes until thick.
- Toss chicken back into the sauce.
- Garnish with sesame seeds and green onions, and serve over rice.
Tips for Best Results
- Always deglaze before adding honey. This single change eliminated my burn-notice problem completely and it’s the most important tip in this whole recipe.
- Whisk the cornstarch slurry separately first. Adding dry cornstarch directly to hot sauce guarantees lumps.
- Check for doneness by texture, not just time. Properly cooked chicken breast shreds easily with almost no resistance from a fork; if it feels tough or springs back, give it another minute or two of Sauté in the sauce.
- Don’t overcrowd the pot. If doubling the recipe, cook in two batches or use an 8-quart pot so the chicken sits mostly in a single layer for even cooking.
- Reduce pressure time to 6 minutes for thighs. Thighs are more forgiving than breast meat, but they still turn out best with a shorter cook time in this sauce.
Ingredient Substitution
| Original Ingredient | Substitute | Effect on Taste/Texture |
| Honey | Maple syrup | Slightly less floral, a touch thinner sauce; reduce broth by 1 tablespoon to compensate |
| Soy sauce | Tamari | Nearly identical flavor; good gluten-free swap with no textural change |
| Rice vinegar | Apple cider vinegar | Slightly sharper tang; use 1 tablespoon less to avoid overpowering the honey |
| Chicken breast | Boneless chicken thighs | Richer, more forgiving texture; reduce pressure cook time to 6 minutes |
| Cornstarch | Arrowroot starch | Similar thickening power; sauce turns glossier but sets slightly softer once cooled |
Storage & Reheating
- Refrigerator: Store the chicken and sauce together in an airtight container for up to 4 days.
- Freezer: Freeze in a freezer-safe container for up to 3 months; thaw overnight in the fridge before reheating.
- Reheating: Warm in a covered skillet over medium-low heat with a splash of water or broth for 4–5 minutes, stirring occasionally so the sauce doesn’t scorch.
- Microwave: Reheat in 30-second intervals, stirring between each, until heated through — about 90 seconds total for one serving.
FAQs
Can I use frozen chicken breast in this Instant Pot recipe?
Yes, but skip the searing step and add 4 extra minutes to the pressure cook time, for a total of 12 minutes on High Pressure. The sauce won’t reduce as evenly around frozen chicken, so plan on an extra minute or two of simmering after shredding.
Why did my Instant Pot show a “Burn” warning with this recipe?
This usually happens when honey or sugar sits directly against the hot bottom of the pot without enough liquid. Always deglaze with soy sauce after sautéing the aromatics, and stir the sauce ingredients together before sealing the lid.
Do I have to sear the chicken before pressure cooking?
No, searing is optional, but it adds browned flavor the sauce alone can’t replicate. If you’re short on time, you can skip straight to Step 2 and still get tender, well-sauced chicken.
How do I thicken the sauce without cornstarch?
A flour slurry works as a substitute — whisk 2 tablespoons of flour with 3 tablespoons of cold water and simmer it in the sauce for about 4 minutes, since flour takes slightly longer than cornstarch to fully thicken.
What should I serve with honey sesame chicken?
Steamed jasmine rice, lo mein noodles, or a quick cucumber salad all work well since they don’t compete with the sweetness of the sauce. Steamed broccoli or snap peas also add a fresh, crunchy contrast to the soft, saucy chicken.