

I still remember the first time I tried to use a coffee grinder. It was a Sunday morning. I was half asleep. I just wanted a good cup of coffee before church. What I got instead was a cloud of coffee dust in my face and grounds all over the counter. That moment changed how I looked at coffee forever.
If you are new to grinding your own coffee, do not worry. I have been there. I have made all the mistakes. And now I want to walk you through everything I learned so your first cup comes out great, not like mine did.
Table of Contents
Why I Started Grinding My Own Coffee
Before I got into grinding, I was buying pre-ground coffee from the store. It was fine. But one day, my neighbor handed me a cup of freshly ground coffee. I took one sip and could not believe it. The flavor was so different. It was rich, smooth, and had this natural sweetness I had never tasted before.
That same week, I bought my first coffee grinder. And yes, I had no idea how to use a coffee grinder properly. But over time, I figured it out. And I am going to share all of it with you.
Understanding the Two Main Types of Coffee Grinders
Before you start grinding, you need to know what kind of grinder you have. This matters a lot. I learned this the hard way when I kept getting bitter coffee and could not figure out why.
Blade Grinders
This is the more affordable type. It has a small spinning blade inside that chops the beans. It is easy to use, but the grind size is not always even. Some pieces come out too big, and some come out like powder. This uneven grind is why your coffee can taste bitter or sour.
I used a blade grinder for six months before I upgraded. It worked, but the results were not consistent.
<<Get Amazon For This Product>>
Burr Grinders
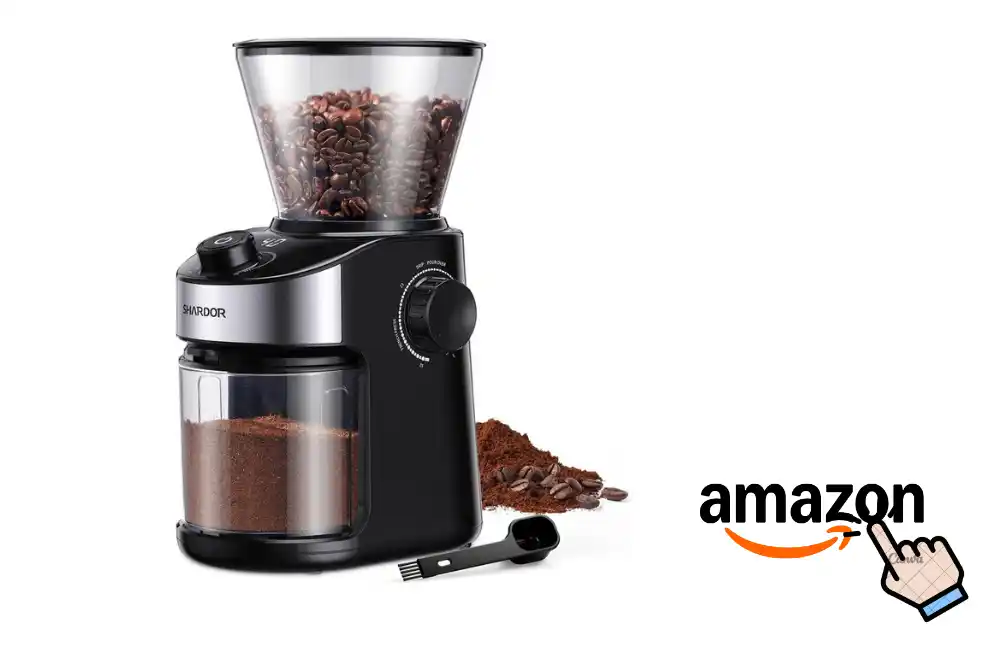
This type uses two rough discs, called burrs, that crush the beans to a uniform size. The grind is much more even. I switched to a burr grinder about a year ago, and the difference was immediate. My coffee started tasting the way it was supposed to taste.
If you are serious about your morning cup, a burr grinder is worth it. But even a blade grinder can work great if you use it correctly.
<<Get Amazon For This Product>>
How to Use a Coffee Grinder Step by Step
Now let me walk you through the actual process. I do this every single morning, and it takes me less than five minutes.
Step 1: Choose the Right Coffee Beans
This sounds simple, but it matters. Fresh beans make a big difference. I buy whole bean coffee from a local roaster every two weeks. You want beans that were roasted recently, ideally within the past two to four weeks.
Look for the roast date on the bag, not just the “best by” date. Beans that are too old taste flat. Trust me, I have brewed a few sad, lifeless cups from old beans.
Step 2: Measure Your Coffee Beans
A good rule I follow is two tablespoons of whole beans for every six ounces of water. But you can adjust this depending on how strong you like your coffee.
I keep a small kitchen scale on my counter now. Weighing your beans gives you more control and more consistency. Around 15 to 18 grams of coffee for every 250 ml of water works really well for me.
Step 3: Set the Grind Size
This is the step that confused me the most when I started learning how to use a coffee grinder. Grind size affects the taste of your coffee more than almost anything else.
Here is a quick guide I put together from my own trial and error over the years.
| Brew Method | Grind Size | What It Feels Like |
| French Press | Coarse | Like sea salt or raw sugar |
| Drip Coffee Maker | Medium | Like table salt |
| Pour Over | Medium Fine | Like sand |
| Espresso | Fine | Like powdered sugar |
| Turkish Coffee | Extra Fine | Almost like flour |
When I first tried espresso at home, I used a medium grind. The shot came out watery and weak. Once I switched to a fine grind, the flavor completely changed. That was a big learning moment for me.
Step 4: Add Beans to the Grinder
Open the lid of the hopper or the top chamber. Pour in your measured beans. Do not overfill it. Most home grinders work best when you grind just enough for one or two cups at a time.
I tried filling mine all the way once. The motor made a sad sound and some beans did not grind properly. Lesson learned.
Step 5: Grind the Beans
Now the fun part. Put the lid back on securely. If you have a blade grinder, press and hold the button in short bursts of about five seconds each. Shake the grinder gently between bursts to move the grounds around. This helps you get a more even grind.
If you have a burr grinder, just press start and let it run until it stops on its own. Some burr grinders have a timer. Others stop when all the beans are ground. Either way, the process is very hands-off.
The smell at this point is incredible. Freshly ground coffee fills the whole room. My kids always know when I am making coffee on weekend mornings because of that smell.
Step 6: Check the Grounds
Before you brew, take a quick look at the grounds. If they look uneven or if you see big chunks mixed with fine powder, you may need to adjust your grind setting or technique. For a blade grinder, try a few more short bursts.
This quick check became a habit for me. It takes about ten seconds and helps me catch any issues before I waste a whole cup.
Step 7: Transfer and Brew Right Away
Once you grind your coffee, use it immediately. Coffee starts losing its flavor very quickly after grinding. This is the whole point of grinding fresh. The oils and aroma in the bean are protected until you grind it open.
I once ground my coffee the night before to save time in the morning. The next day, the cup tasted noticeably flat. That was the last time I did that.
Common Mistakes I Made When Learning How to Use a Coffee Grinder
I want to be honest with you. I messed up a lot in my first few months. Here are the mistakes I made so you do not have to.
Grinding Too Fine for a French Press
I once used an espresso grind in my French press. The coffee came out so bitter I could barely drink it. Fine grounds also clog the French press filter. Use a coarse grind for French press. Always.
Not Cleaning the Grinder
Coffee oils build up inside the grinder over time. If you do not clean it, those oils go rancid and start making your coffee taste stale and funky. I clean my grinder once a week with a soft brush. Once a month, I run a few grinder cleaning tablets through it.
Using Oily or Flavored Beans in a Burr Grinder
Some dark roast beans are very oily. They look shiny. I used some once in my burr grinder, and the oily residue clogged the burrs. It was a pain to clean. Most manufacturers recommend medium to light roast beans for burr grinders. Check your manual.
A Comparison Table for Grinder Types
| Feature | Blade Grinder | Burr Grinder |
| Price Range | Budget friendly | Mid to high range |
| Grind Consistency | Uneven | Very even |
| Grind Settings | Limited control | Precise control |
| Best For | Casual coffee drinkers | Coffee enthusiasts |
| Noise Level | Loud and choppy | Steady hum |
| Cleaning | Simple | Requires more care |
I still have my old blade grinder as a backup. It is sitting in the cabinet right now. But my burr grinder is the one I use every single day.
How to Maintain Your Coffee Grinder
Taking care of your grinder makes it last longer and keeps your coffee tasting fresh. Here is what I do every week.
After each use, I brush out the leftover grounds with a small cleaning brush. Most grinders come with one. If yours did not, a small pastry brush works just as well.
Once a week, I take apart any removable parts and wipe them with a dry cloth. I never use water inside the grinder unless the manual says I can. Water and the motor do not mix well.
Once a month, I run a quick descale or use a cleaning tablet designed for coffee grinders. This keeps the inside smelling fresh and tasting clean.
Final Thoughts From My Coffee Corner
Learning how to use a coffee grinder changed my morning routine completely. What used to feel like a chore became something I actually look forward to. There is something satisfying about grinding fresh beans, hearing that hum, smelling the aroma filling the kitchen, and knowing the cup you are about to drink is going to be the best one you could make.
You do not need to be a barista. You do not need the most expensive equipment. You just need the right steps and a little patience. Start with fresh beans. Pick the right grind size for your brew method. Clean your grinder regularly. That is honestly all it takes.
I hope my experience helps you avoid the mistakes I made and skip straight to the good part, which is that first perfect sip.
FAQ
What grind size should I use in a coffee grinder for drip coffee?
Use a medium grind for drip coffee. It feels like table salt between your fingers. A grind that is too fine or too coarse will make your coffee taste off, so getting this right is worth the extra second.
Does a burr grinder really make better coffee than a blade grinder?
Yes, and the difference is noticeable right away. Burr grinders crush beans to a consistent size, which means more even flavor in every cup. Blade grinders chop unevenly, which can lead to a bitter or sour taste.
How often should I clean my coffee grinder to keep it working well?
Brush out loose grounds after every use. Do a deeper clean once a week by wiping removable parts with a dry cloth. Run a cleaning tablet through it once a month to remove built up coffee oils.
Can I grind dark roast beans in a burr grinder?
You can, but go carefully. Dark roast beans are often oily, and that oil can clog the burrs over time. Stick to medium or light roast beans for daily use, and check your grinder manual before switching bean types.
Why does my freshly ground coffee taste flat even though I just brewed it?
The most likely reason is that you ground the beans too early. Ground coffee loses its aroma and flavor fast, sometimes within minutes. Always grind right before you brew for the best tasting cup.